You’ve heard about gardening by the moon – an ancient approach to gardening based in folklore and superstition in which planting times are scheduled according to moon phases and astrological signs. Now, how about gardening on the moon! No pseudoscience necessary here. NASA scientists are currently on a mission to determine what it will take to grow plants on the moon in anticipation of setting up a permanent lunar base. After all, if we plan on sending people to the moon to live for long periods of time, we will need to figure out how to grow some food for them up there, right?
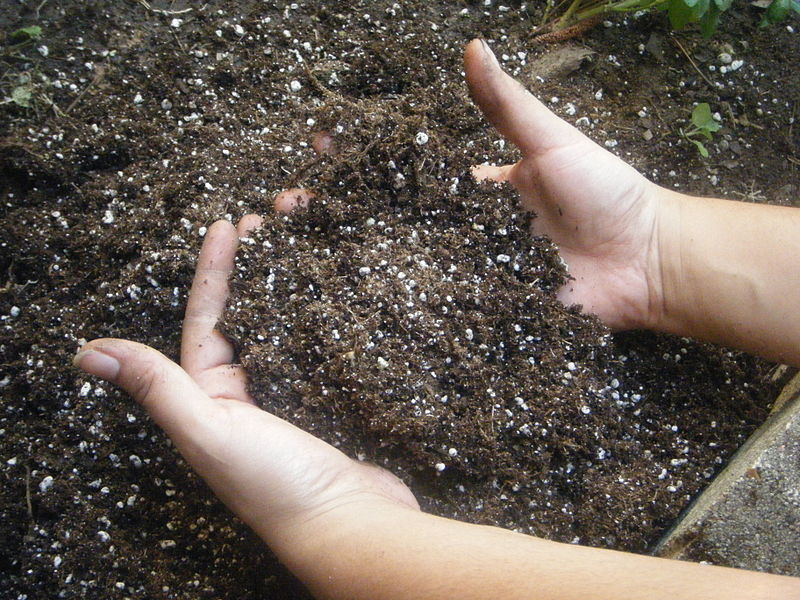
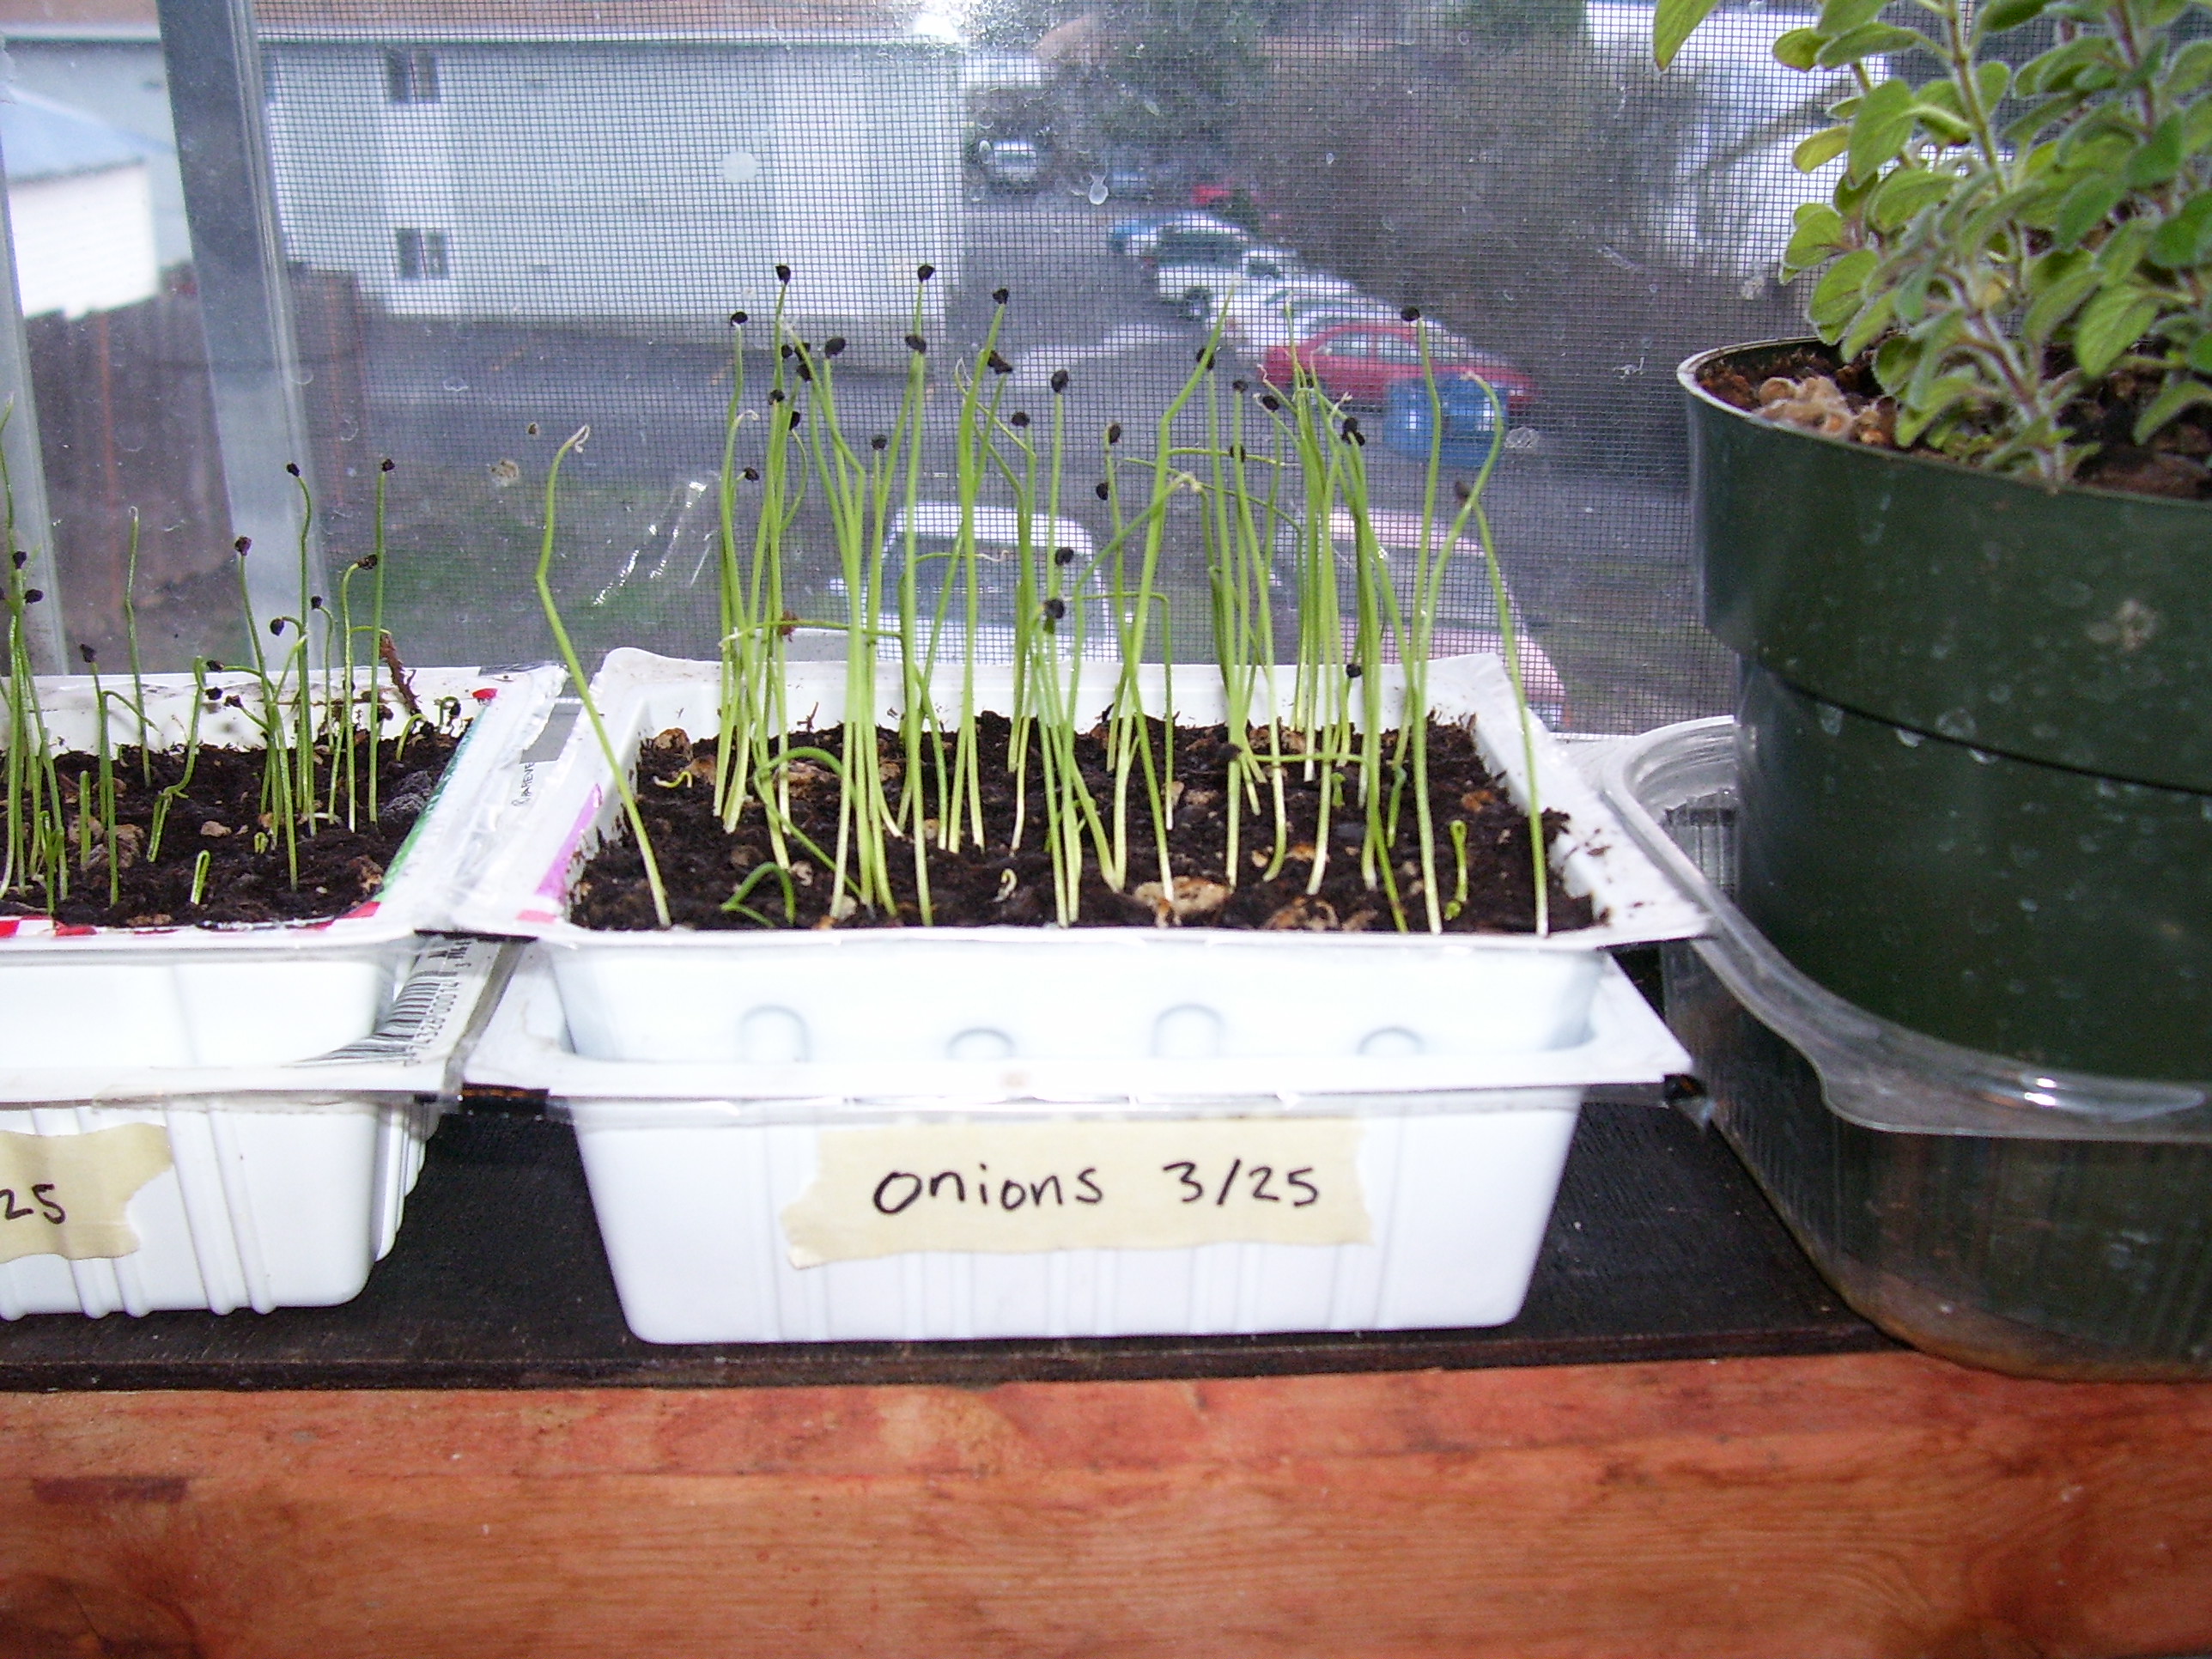
The first phase of the study will examine seed germination in a lunar environment and will observe seedlings during the first week or so of their lives. The seeds of cress, basil, and turnip have been selected as the first to be grown on the moon. However, these seeds will experience an environment that seeds of their kind (or any other kind for that matter) have never experienced before, because, unlike the earth, the moon has no atmosphere. Gravity on the moon is one sixth of what it is on earth; solar radiation is intense and direct; and fluctuations in temperature are extreme to put it lightly (about 150°F during the day to -150°F during the night). Oh, and there is one other important limitation: moon soil is dead. To start with, it’s virtually moisture-free. It also has no organic matter content, and it is void of life (compared to a tablespoon of earth soil, which is said to harbor about 50 billion microbes, many of which help sustain plant life).
NASA scientists have considered these limitations. That is why the first seeds on the moon will be grown in a lunar plant growth chamber. This growth chamber is designed to regulate temperature and light and will contain a filter paper inoculated with plant nutrients. Water will be stored inside the growth chamber and released when the chamber reaches the moon. There will be just enough water to induce germination and allow the plants to grow for 5-10 days. Plant growth will be monitored with an onboard camera and then compared to plants grown in a similar growth chamber on earth. Scientists will be observing how well the seeds germinate and grow in a low gravity, high radiation environment.
The first lunar plant growth chamber is scheduled to head for the moon in late 2015. It will be hitching a ride with the winners of the Google Lunar X-prize competition. Based on the results of the first phase of the experiment, following phases will observe sexual reproduction in a lunar environment. If sexual reproduction occurs, what effect will high levels of radiation have on subsequent generations? Only time will tell, so this will be an exciting project to monitor for years to come.
photo credit: wikimedia commons
Do you want to help design future lunar plant growth chambers? Go here.