Microgreens!

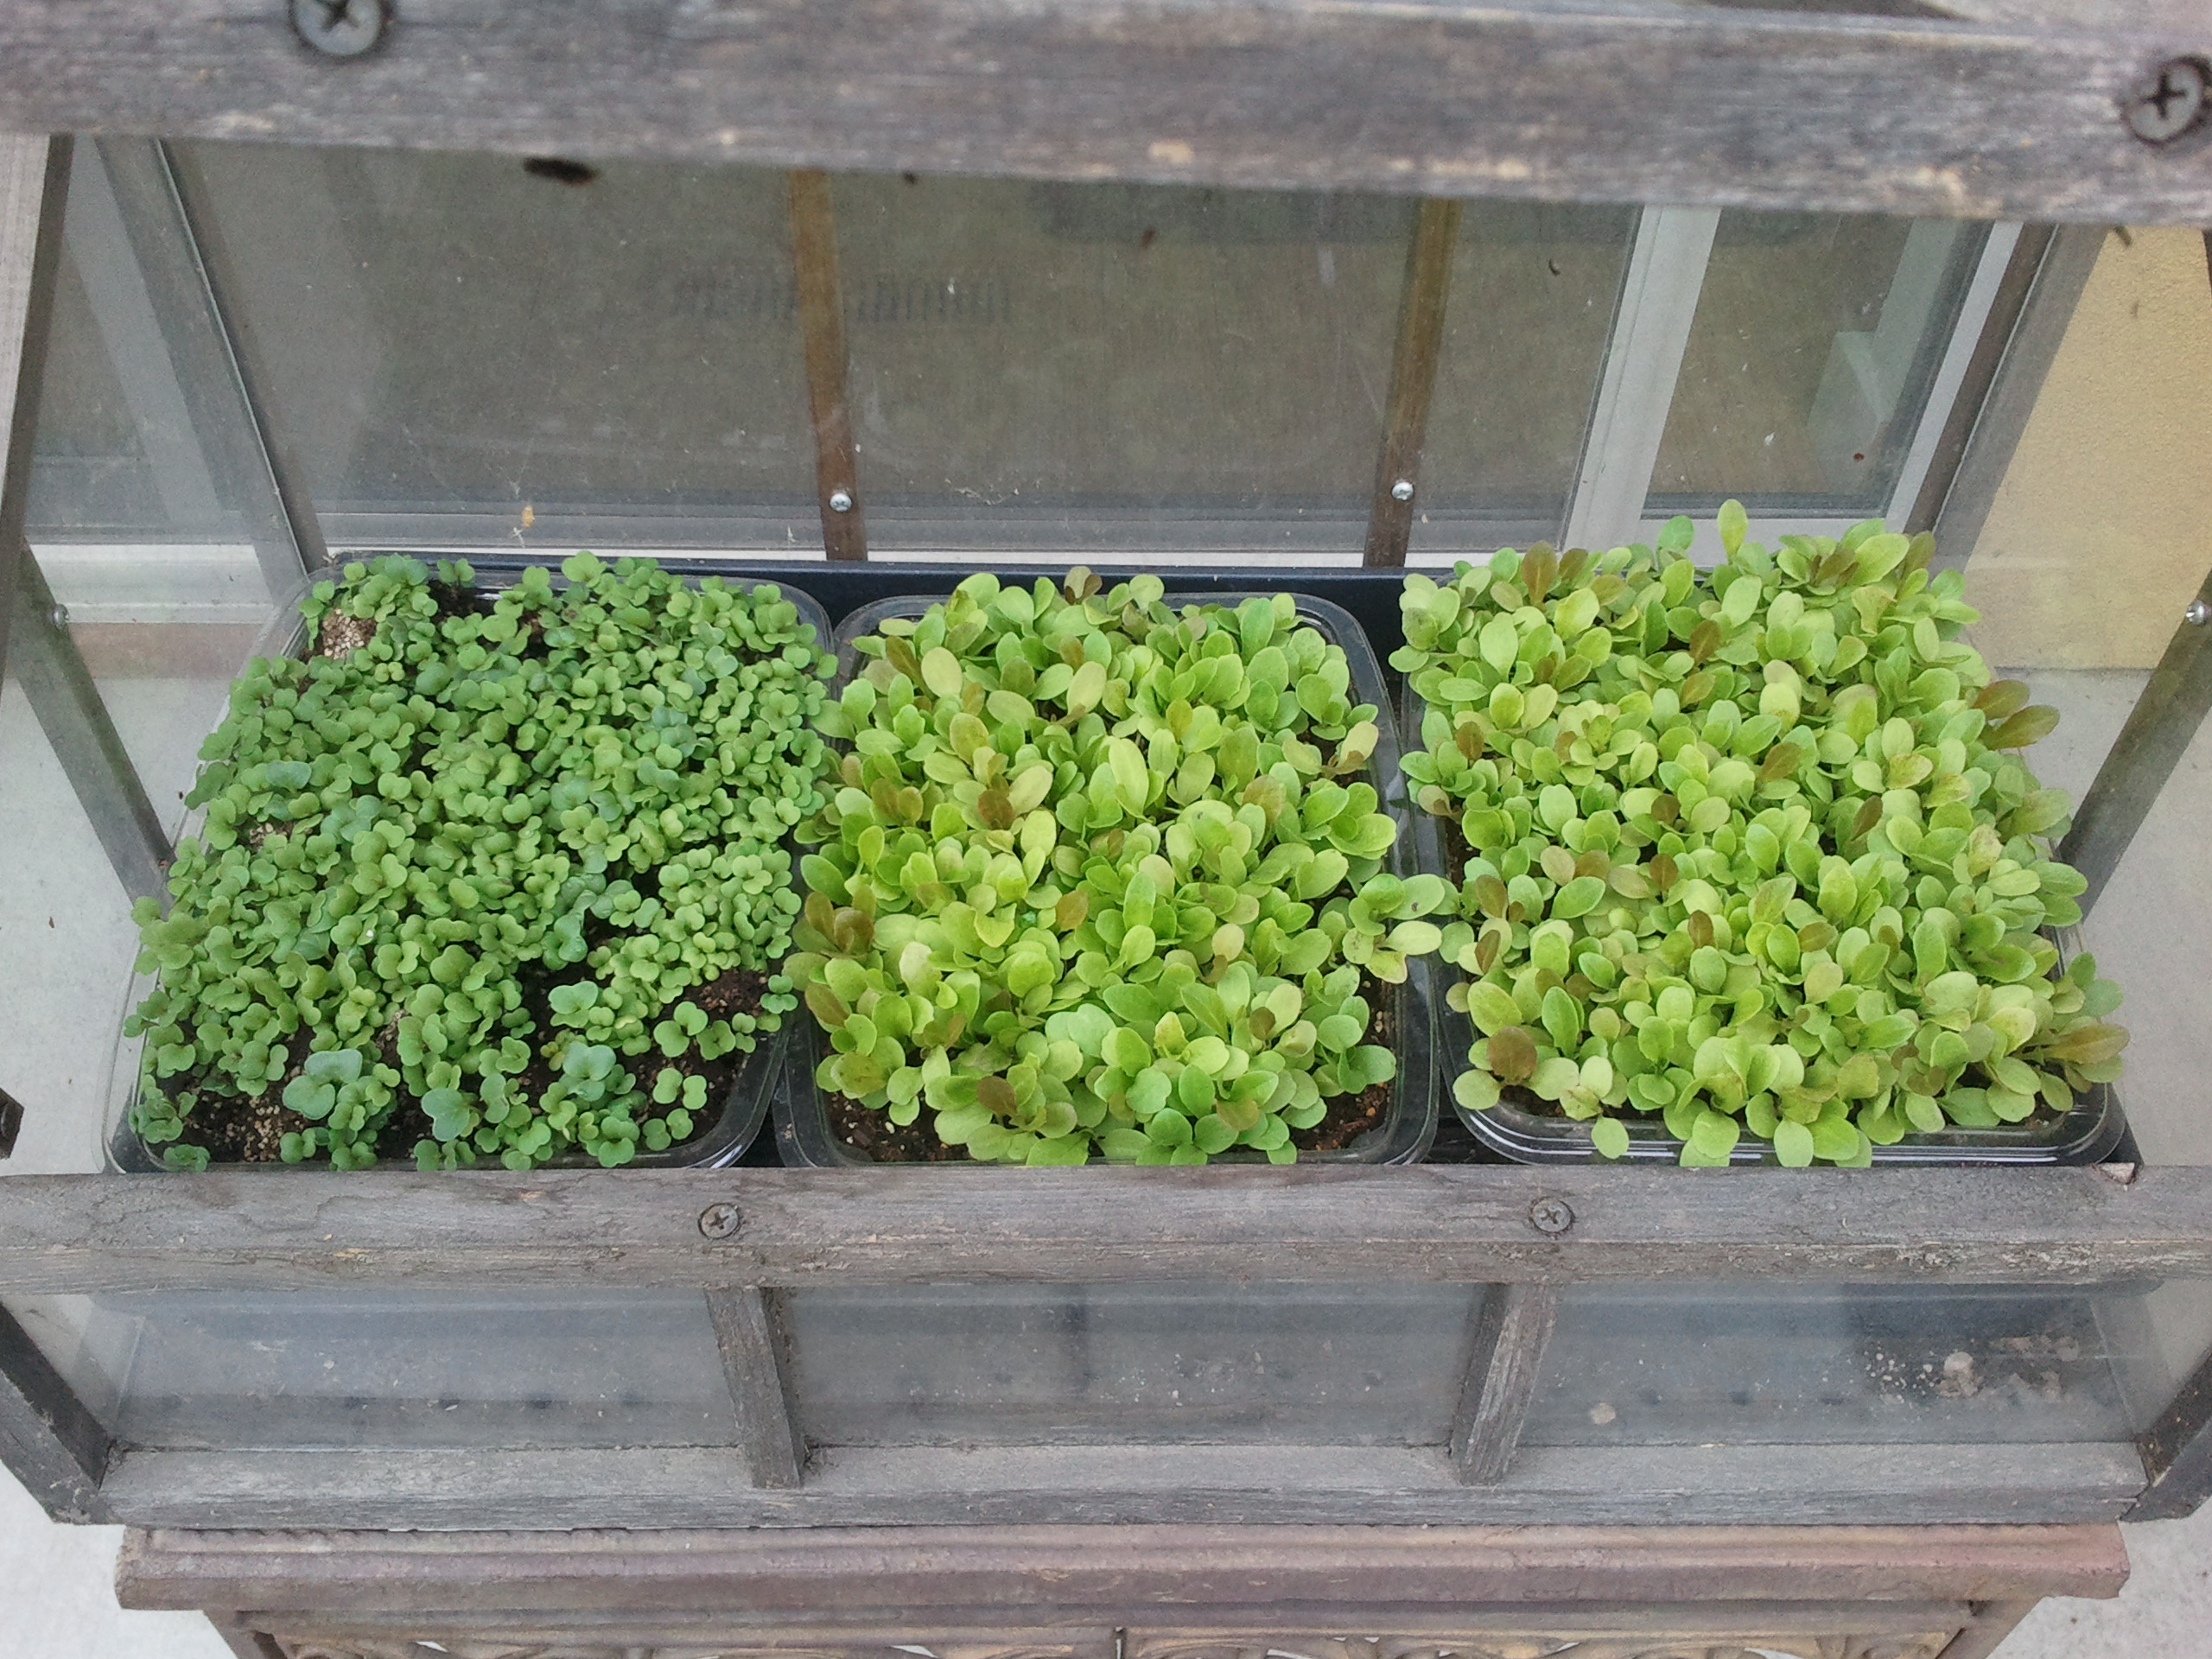
Microgreens are quite popular these days. They are larger than sprouts and smaller than baby greens, and new research has verified that they are packed with nutrients. Microgreens are easily grown year-round on a countertop or windowsill, even if the lighting situation is less than ideal for growing other plants. I am growing some now in clear, plastic, salad mix containers. I punched a few holes in the bottoms of the containers for drainage, filled them with moist potting soil, scattered seeds on top of the soil, covered the seeds with a bit more potting soil, and placed them outside in a small cold frame. I planted two with lettuce mix and one with radishes and arugula. The plants are ready to cut in a week or two and can be eaten in salads, sandwiches, stir-fries, etc.

To be considered true microgreens, the plants should be harvested very young (up to 14 days old and about an inch tall). After they are harvested, they will need to be replanted – unlike baby greens and typical salad mix which will produce multiple harvests – because they will not be large to enough to recover from being chopped down.

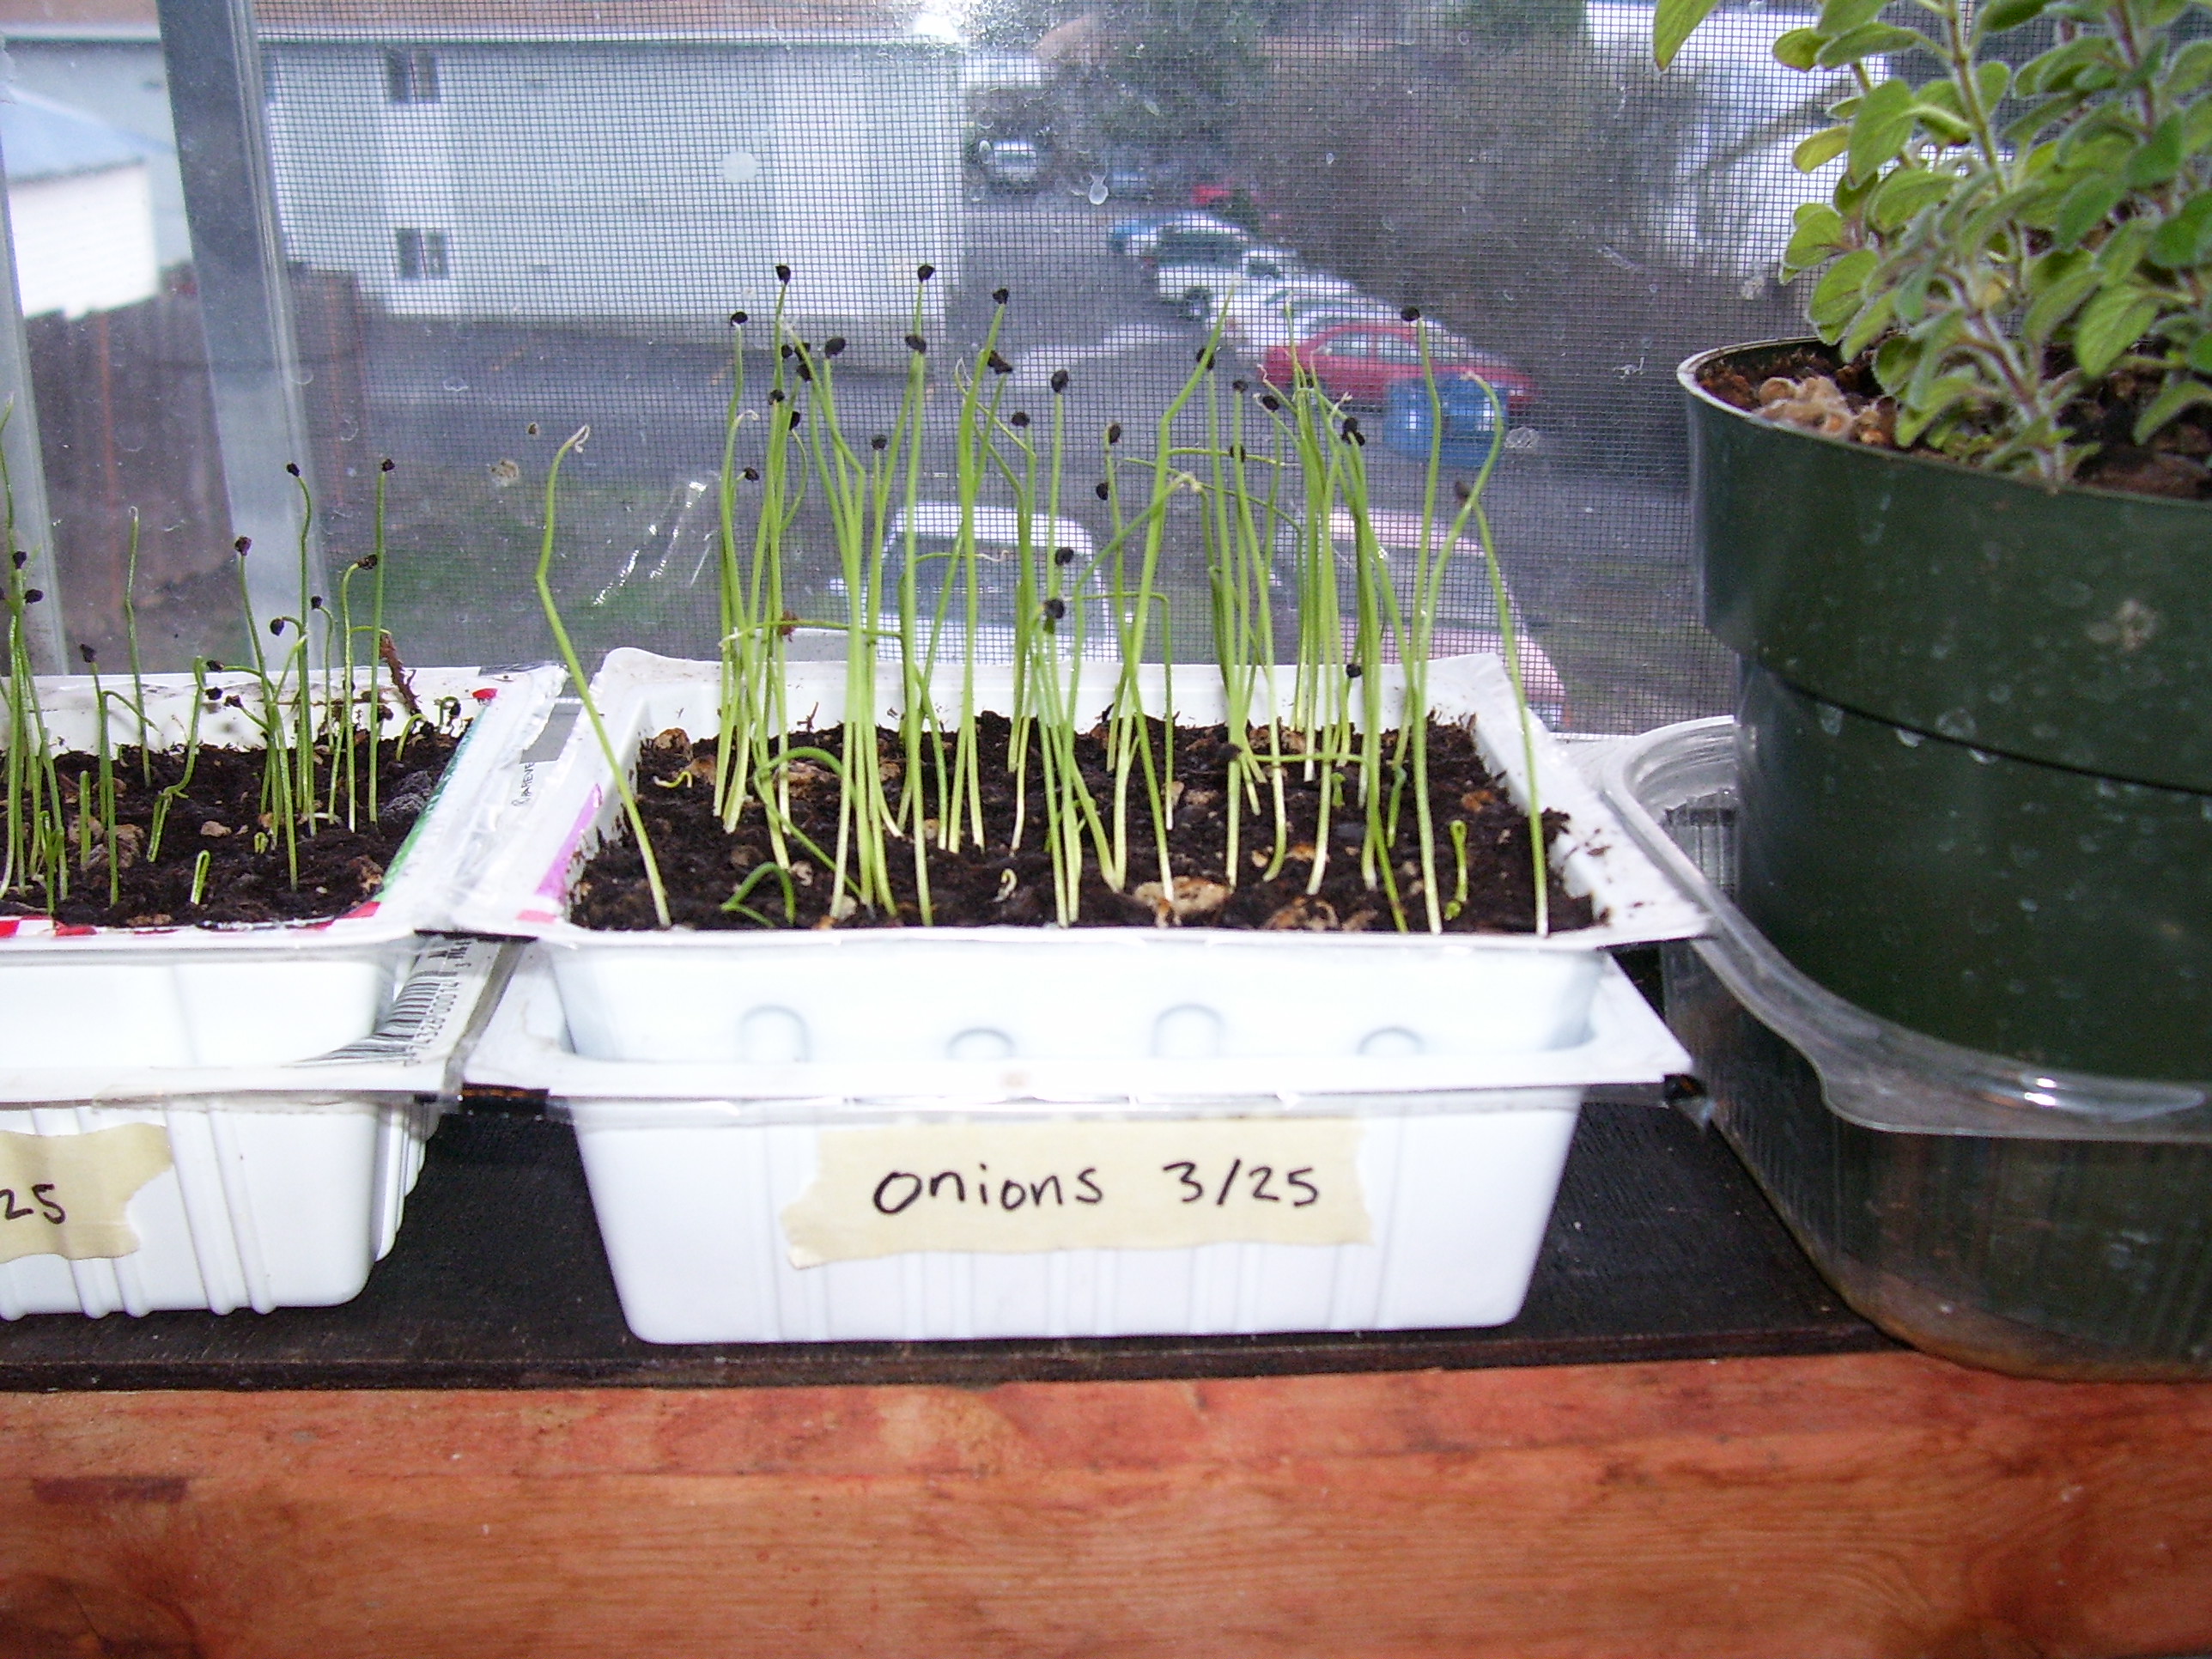
A wide variety of seeds can be grown as microgreens, including lettuces and other salad greens, brassicas (radishes, mustards, arugulas, etc.), and herbs. You can select a pre-packaged lettuce mix, or you can make a special mix of your own. Microgreens are great for people who want to grow some of their own food but have little or no space for a traditional garden because they are easily grown in containers indoors. They can also be grown throughout the winter when outdoor gardens have been put to bed for the season.

Learn more about growing microgreens at You Grow Girl and Organic Gardening.

SAMSUNG

Onion Seed Viability, etc.

Seeds don’t remain viable forever. However, each species is different – the seeds of some species can remain viable for many years (decades even), while some species have seeds that will no longer be viable after a single year. This, of course, is something to keep in mind when planting seeds.

Recently I planted some onion seeds. I was curious to see if they would germinate because they were a few years old –  collected in 2007. My experience with onion seeds is that they germinate fairly quickly, within a week or so. However, three weeks have passed and my seeds have not yet germinated, despite being kept in moist potting soil in a sunny, warm corner of the house. This experience has led to me to think about seed viability.

Like I said, seeds of different species remain viable for different lengths of time. For vegetable gardeners, there are a variety of places to go to learn more about seed viability. Iowa State University Extension has a great chart which shows the number of years that the seeds of popular vegetable crops should remain viable. It is interesting to note that onion seeds only remain viable for one year. As it turns out, my seeds were far past their prime.

Seed storage can make a huge difference, though. Ideally, seeds should be stored in a cool, dry location. If they are exposed to too much heat or moisture, their metabolism will increase and their viability will decrease. This is because seeds are living organisms, despite appearing dead or dormant. Their metabolic processes are proceeding at an extremely slow rate,  but they are still proceeding. If metabolism increases (due to excessive heat or moisture, for example), the embryonic resources of seeds can become depleted, and viability (or germination potential) decreases.

Some sources recommend that you keep your seeds in the refrigerator, provided that they are sealed in plastic to keep them dry. Regardless, the ideal conditions for seed storage are cool and dry. I have always kept my seeds in a shoebox at room temperature (which isn’t always that cool because in the summer I refrain from using the air conditioner as much as possible). Thus, the viability of my seeds may in fact be reduced simply due to the conditions in which they are being stored.

There is a way to determine the viability of your seeds if you are curious. Just place some seeds on a moist paper towel, roll up the paper towel, and place it inside of a plastic bag. Wait a few days and then remove the paper towel from the plastic bag. Count the number of germinated seeds and divide that number by the total number of seeds originally placed on the paper towel. This will give you the germination percentage and will help you determine how many seeds to place in each hole or pot when you are planting them.

onion seed packet

This is the seed packet for the onion seeds that I planted. 2/15/2013 is the date that I planted them. After three weeks they had not germinated. I guess I’ll have to try some newer seeds.

Seed Swaps

I am a huge proponent of sharing and the free exchange of ideas and items, which is why when I learned that there was a seed swap happening in my current hometown, I was happy to participate.

Seed swaps are events where people can bring seeds that they have either saved themselves (i.e. collected from plants they grew in their garden or found growing elsewhere) or have purchased and trade them for seeds brought in by other participants. Bringing seeds isn’t always a requirement though – in some cases, if you have no seeds to offer, you can take what seeds you need and then plan to bring some to the following year’s swap.

Seed swaps are great ways to be introduced to plant varieties that you may not be familiar with and to get ideas for what to grow in your garden. They are also a huge benefit to people who would really like to have a garden but have limited money to purchase seeds. Another benefit, of course, is that it gives you an opportunity to unload all of your old seeds – seeds that you may no longer be interested in but someone else might.

There are also social and educational benefits to seed swaps. Mingling with other gardeners gives you a chance to meet new friends and learn from their gardening experiences. Depending on the seed swap, there may also be classes and workshops to attend where one can learn more about seed saving and general gardening.

The seed swap that I attended was called Seedy Saturday, and it was hosted by the Treasure Valley Food Coalition. I highly recommend finding a seed swap in your area and giving it a try. If there is no seed swap where you are, start one!

SAMSUNG

Starting Seeds Indoors: The Planning Stage

It’s February – time to start thinking seriously about this year’s garden. By now you’ve probably received multiple seed catalogs in the mail and you are already starting to think about what you want to grow this year. Now it’s time to think about starting some seeds indoors so that you’ll have some plants ready to go into the garden as soon as it warms up outside. I haven’t had the best luck with starting seeds indoors, probably mostly due to lighting and temperature issues, but hopefully this year will be different.

Something that may be helpful in the planning process is a seed starting chart, which will help you decide when to start each of your seeds. After all, you don’t want to start all your seeds at once because some plants will be ready to transplant faster than others and some plants can be placed outside earlier than others. There are several resources that offer seed starting charts. Two that come to mind are Organic Gardening and You Grow Girl. In order to successfully use these charts, you will need to know the Spring Frost-Free Date for your region. A good place to figure that out is Dave’s Garden.

Once you know what you want to plant and when to plant it, and you have your pots, growing media, lighting, and temperature issues in order, you’ll be ready to go. With dedication, determination, and a little luck, you should have a healthy batch of plants to fill your garden come spring. Happy planting!

100_0510